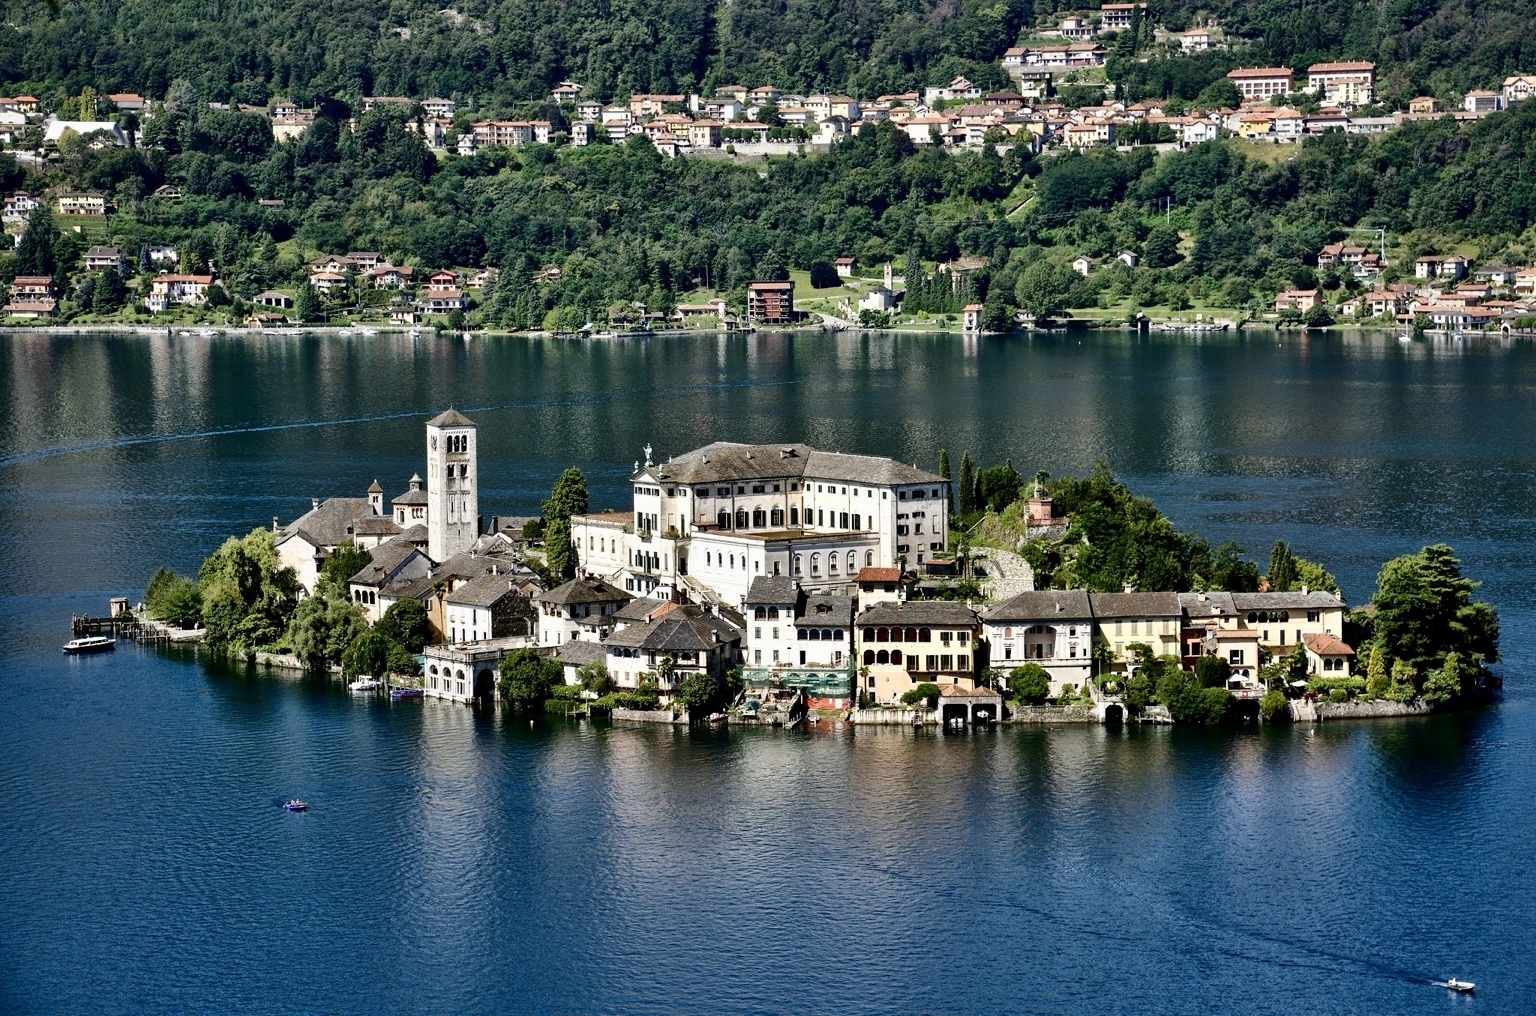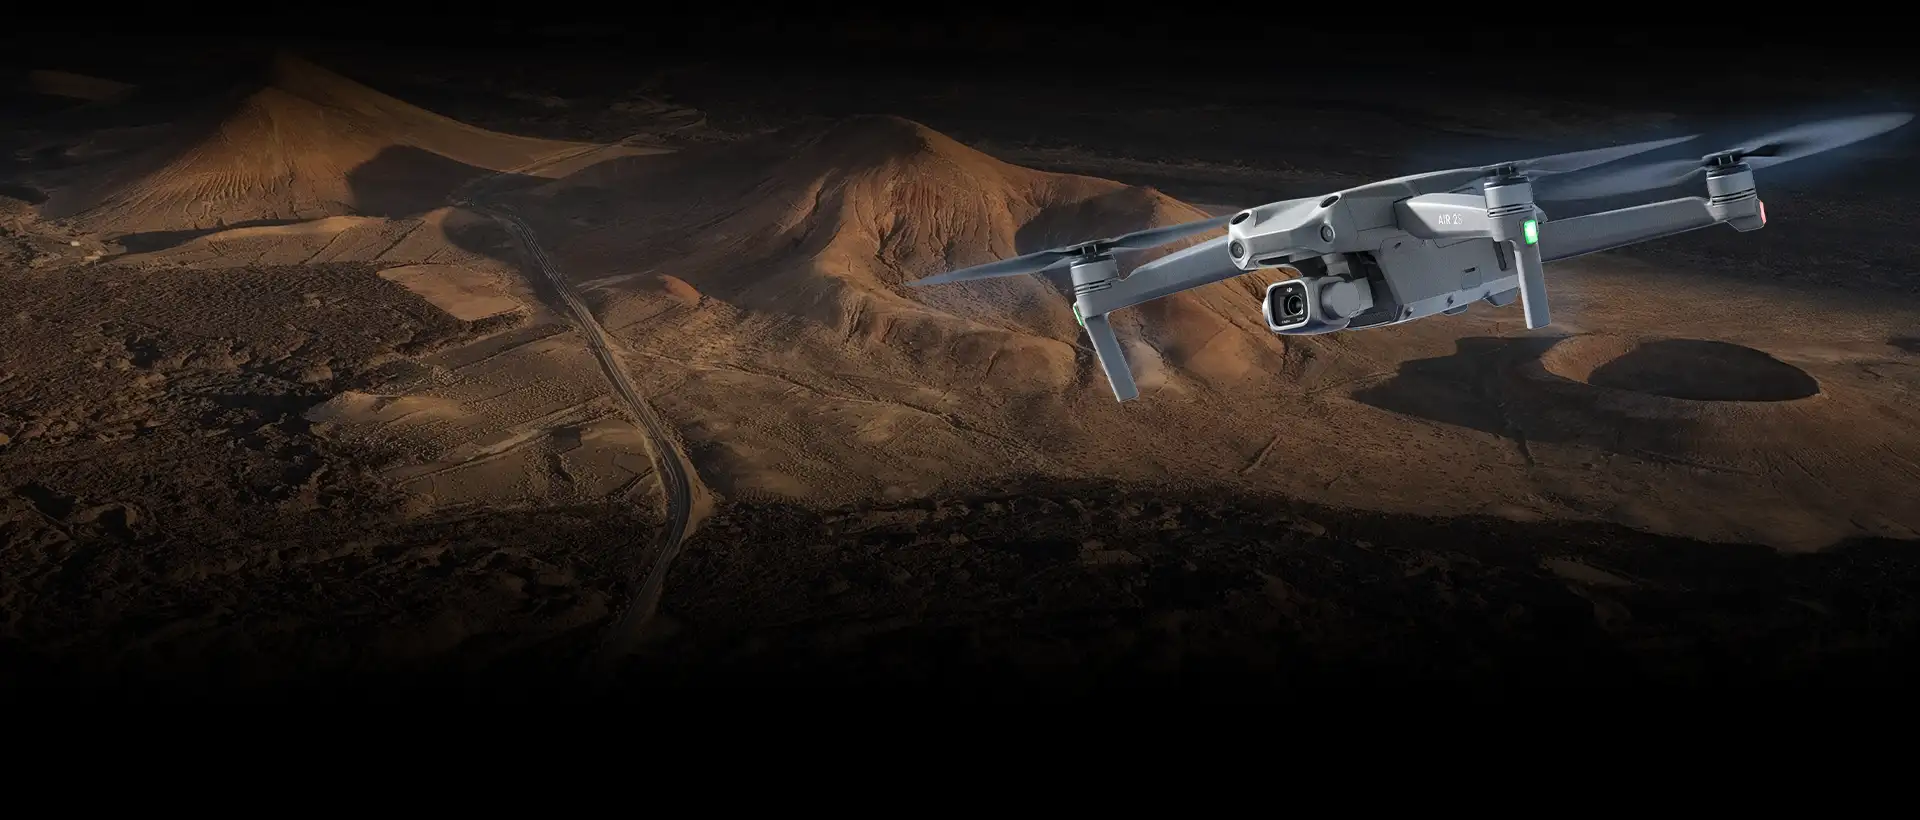
Composing photographs in flight: tips from Drone School Travel
From the air, everything can look beautiful and unfamiliar. The challenge is to recognise a strong composition and decide what you want the photograph to show before pressing the shutter.
Look carefully at the image on your screen. Consider how shapes, light, colour and proportions work together.
As with pre-flight preparations and flight planning, these decisions become more instinctive with practice.
For more on the subject, explore these articles:
| Nikon.it | Nikonschool.it | DJI | Wikipedia |
Leading lines
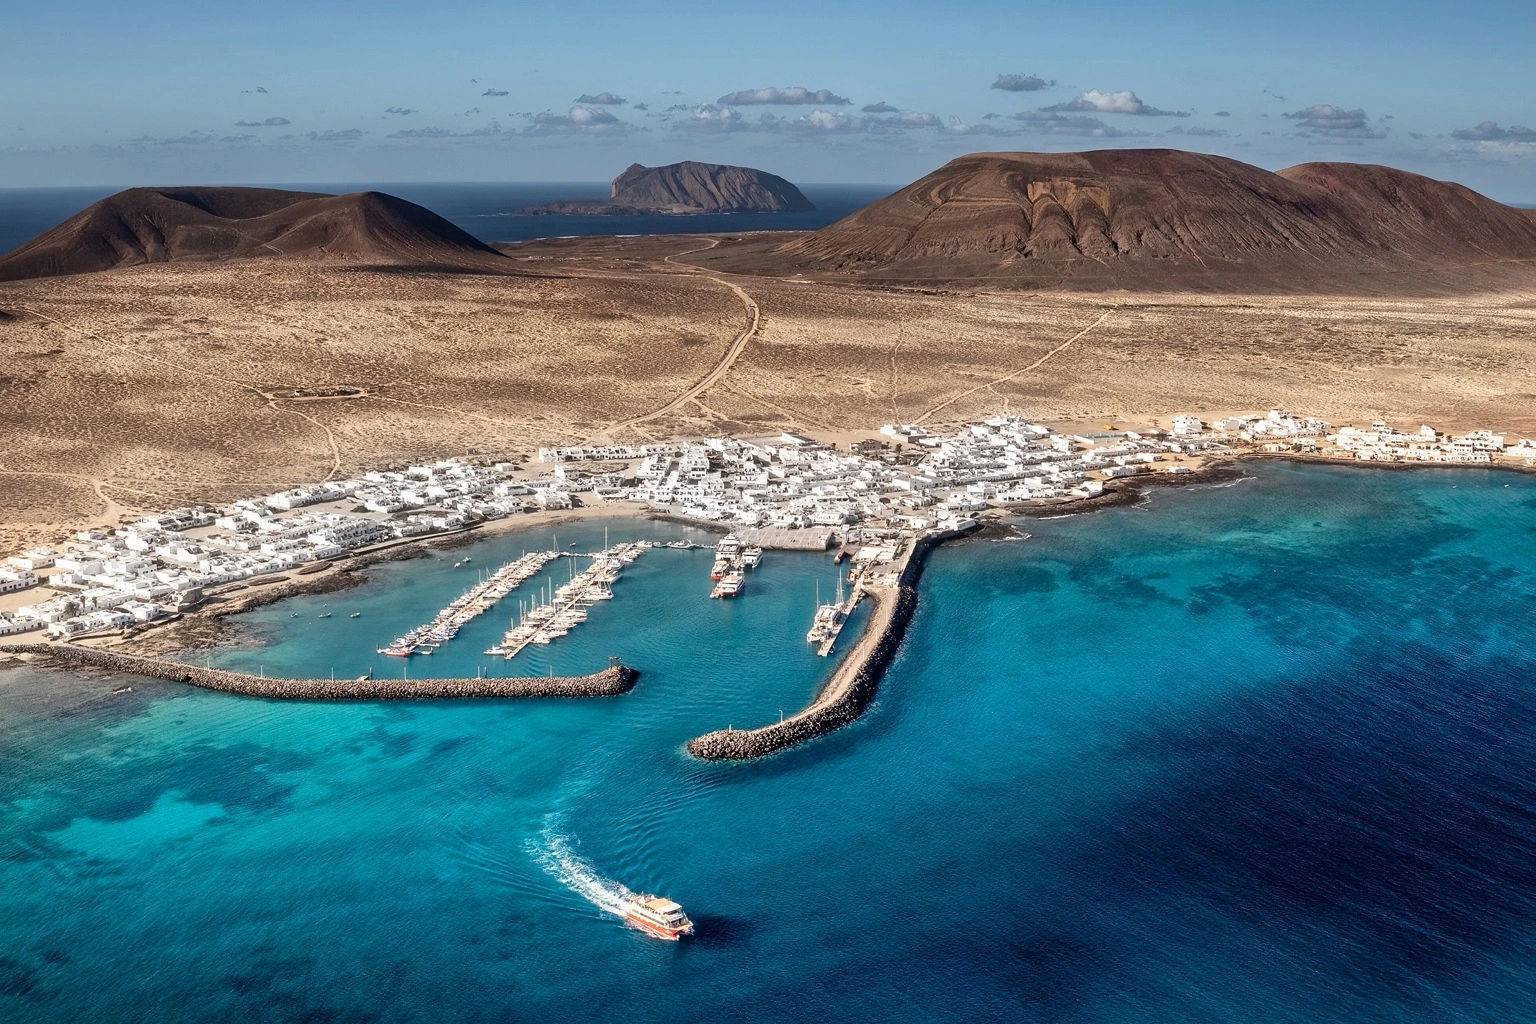
photographic composition gives structure to a scene. Roads, walls, rivers and streams can lead the eye towards the focal point and convey space, movement or elegance.Working with horizontal lines
Horizontal lines suggest calm. Vertical lines emphasise the scale of a subject, curves add movement and soften the scene, and right angles give a sense of order and stillness.
Working with diagonals
I’m especially drawn to diagonals. They bring energy and movement to a photograph and guide the viewer’s eye from one part of the frame to another.
Rule of thirds
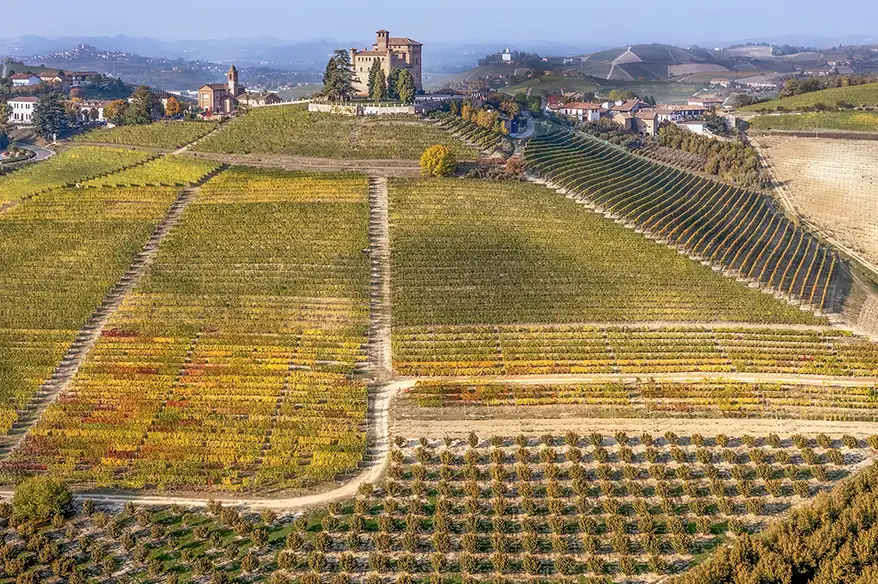
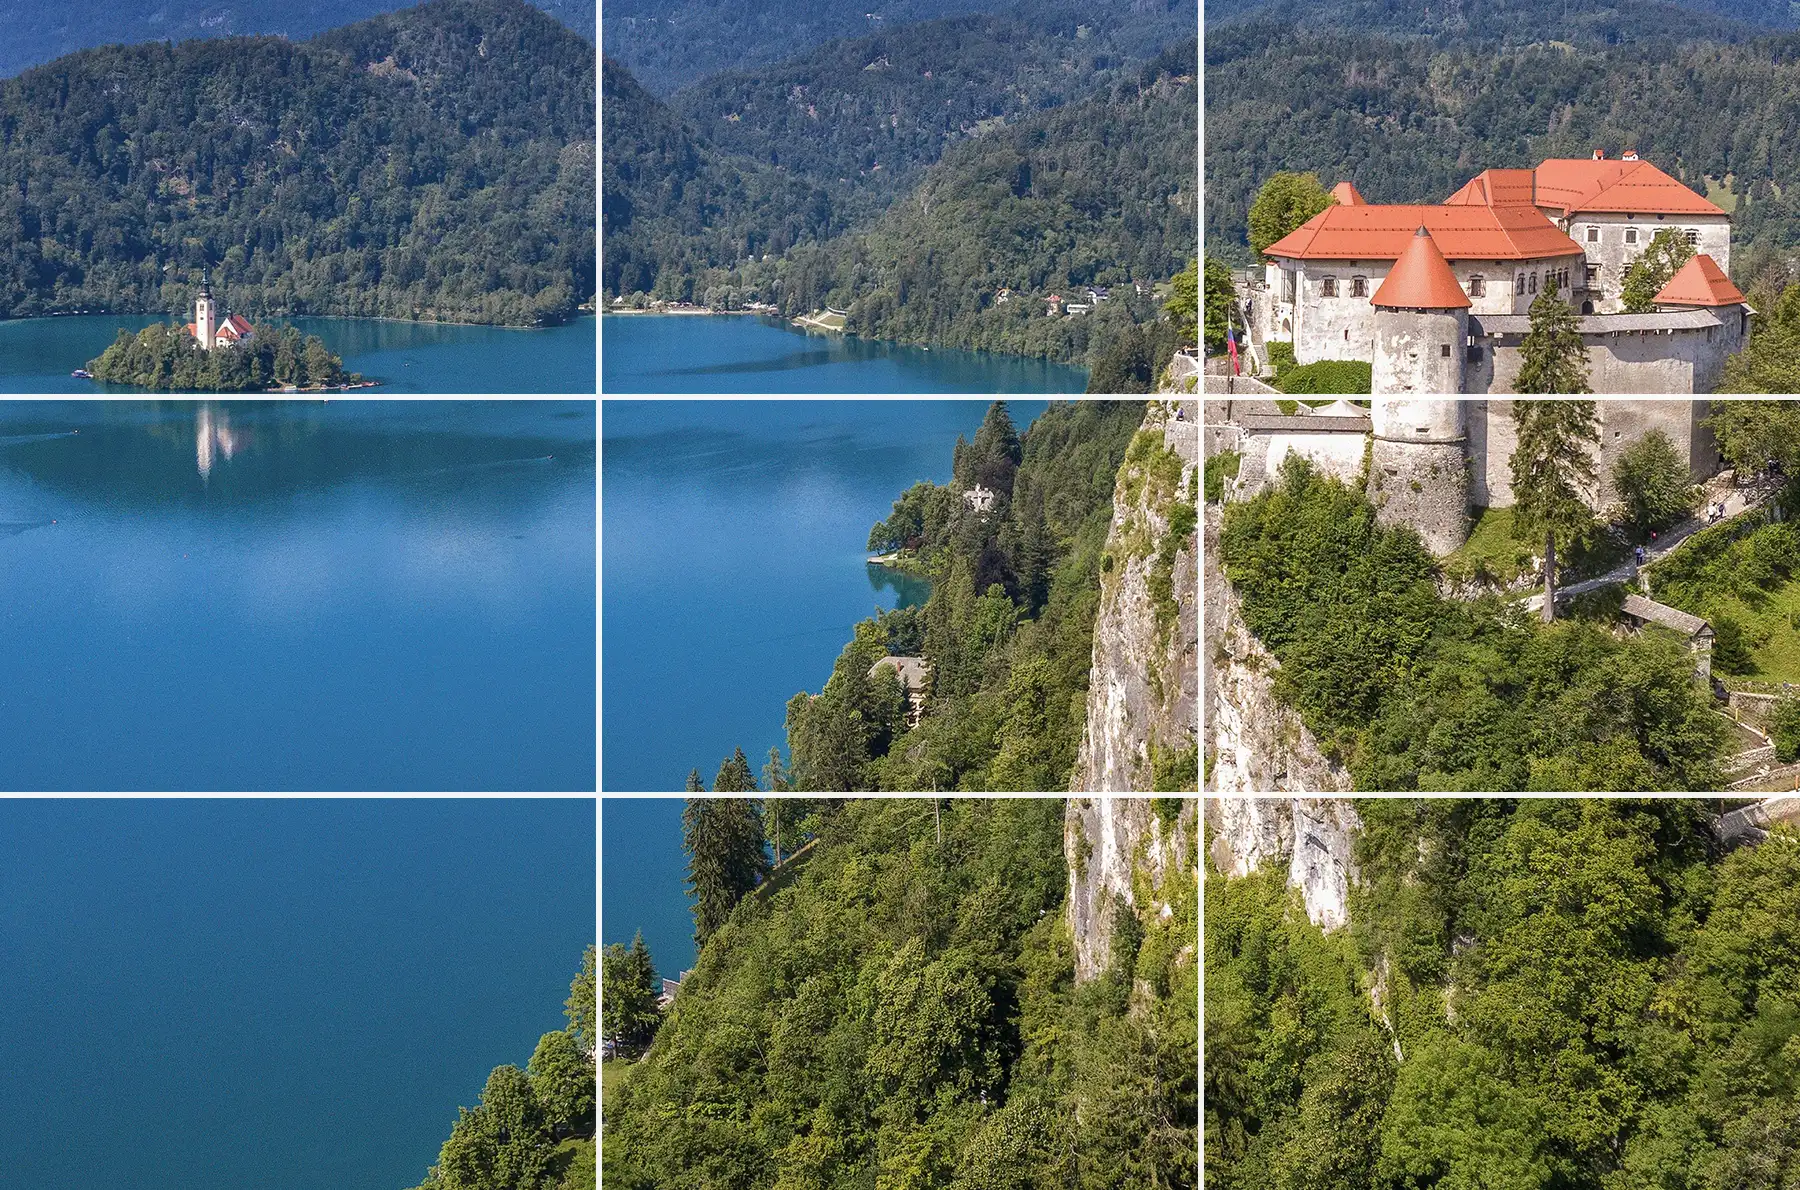
Divide the frame into three equal parts both horizontally and vertically, making a grid of nine rectangles. Try placing your main subject at one of the intersections. This can keep the picture dynamic and balanced, with the subject drawing attention in one part of the frame and negative space balancing it elsewhere. Viewers often notice these intersections before looking at the centre, which is one reason professionals use the rule of thirds so often.
Most drone controllers let you display a composition grid while shooting.
Top-down and bird’s-eye views
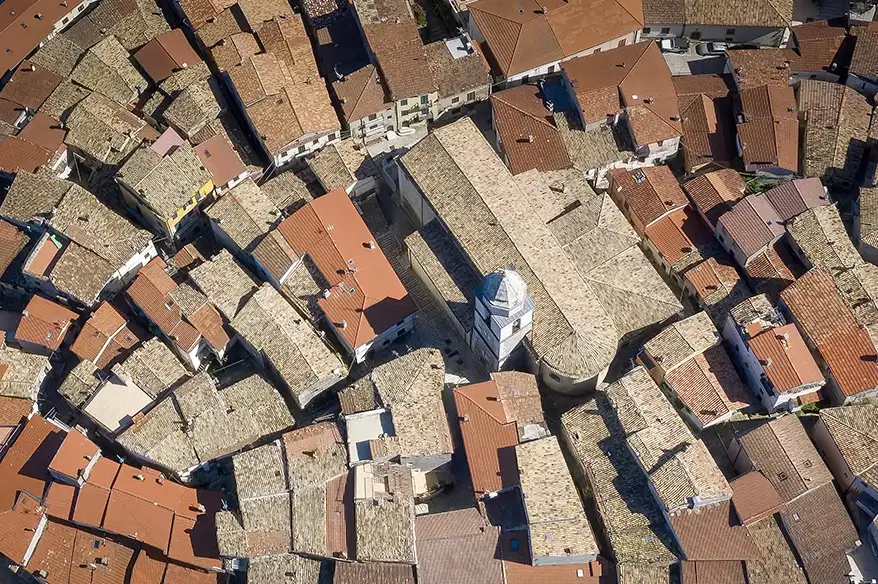
For a top-down photograph, point the camera straight down at the subject. This is useful in architectural photography and archaeology, where it can show an entire excavation site in one frame. Tilt the camera to an angle for an oblique bird’s-eye view.
Symmetry
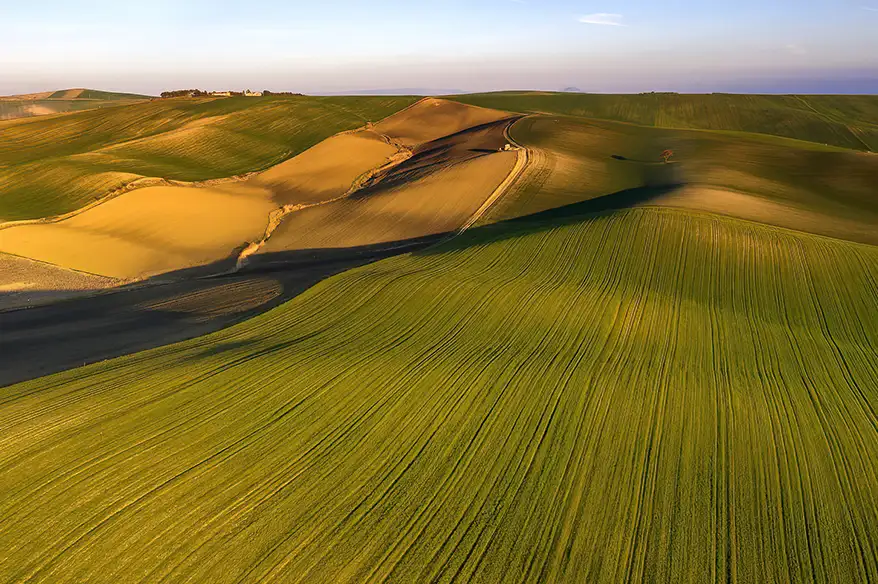
In a symmetrical composition, the two halves of the frame mirror each other. That creates a sense of harmony and balance. Natural forms rarely match perfectly, and the same is true of many buildings and objects. Small departures from symmetry can give the eye something to discover.
Before taking the photograph, check how the shapes, colours and proportions work together in the frame. With practice, you’ll make those choices instinctively.
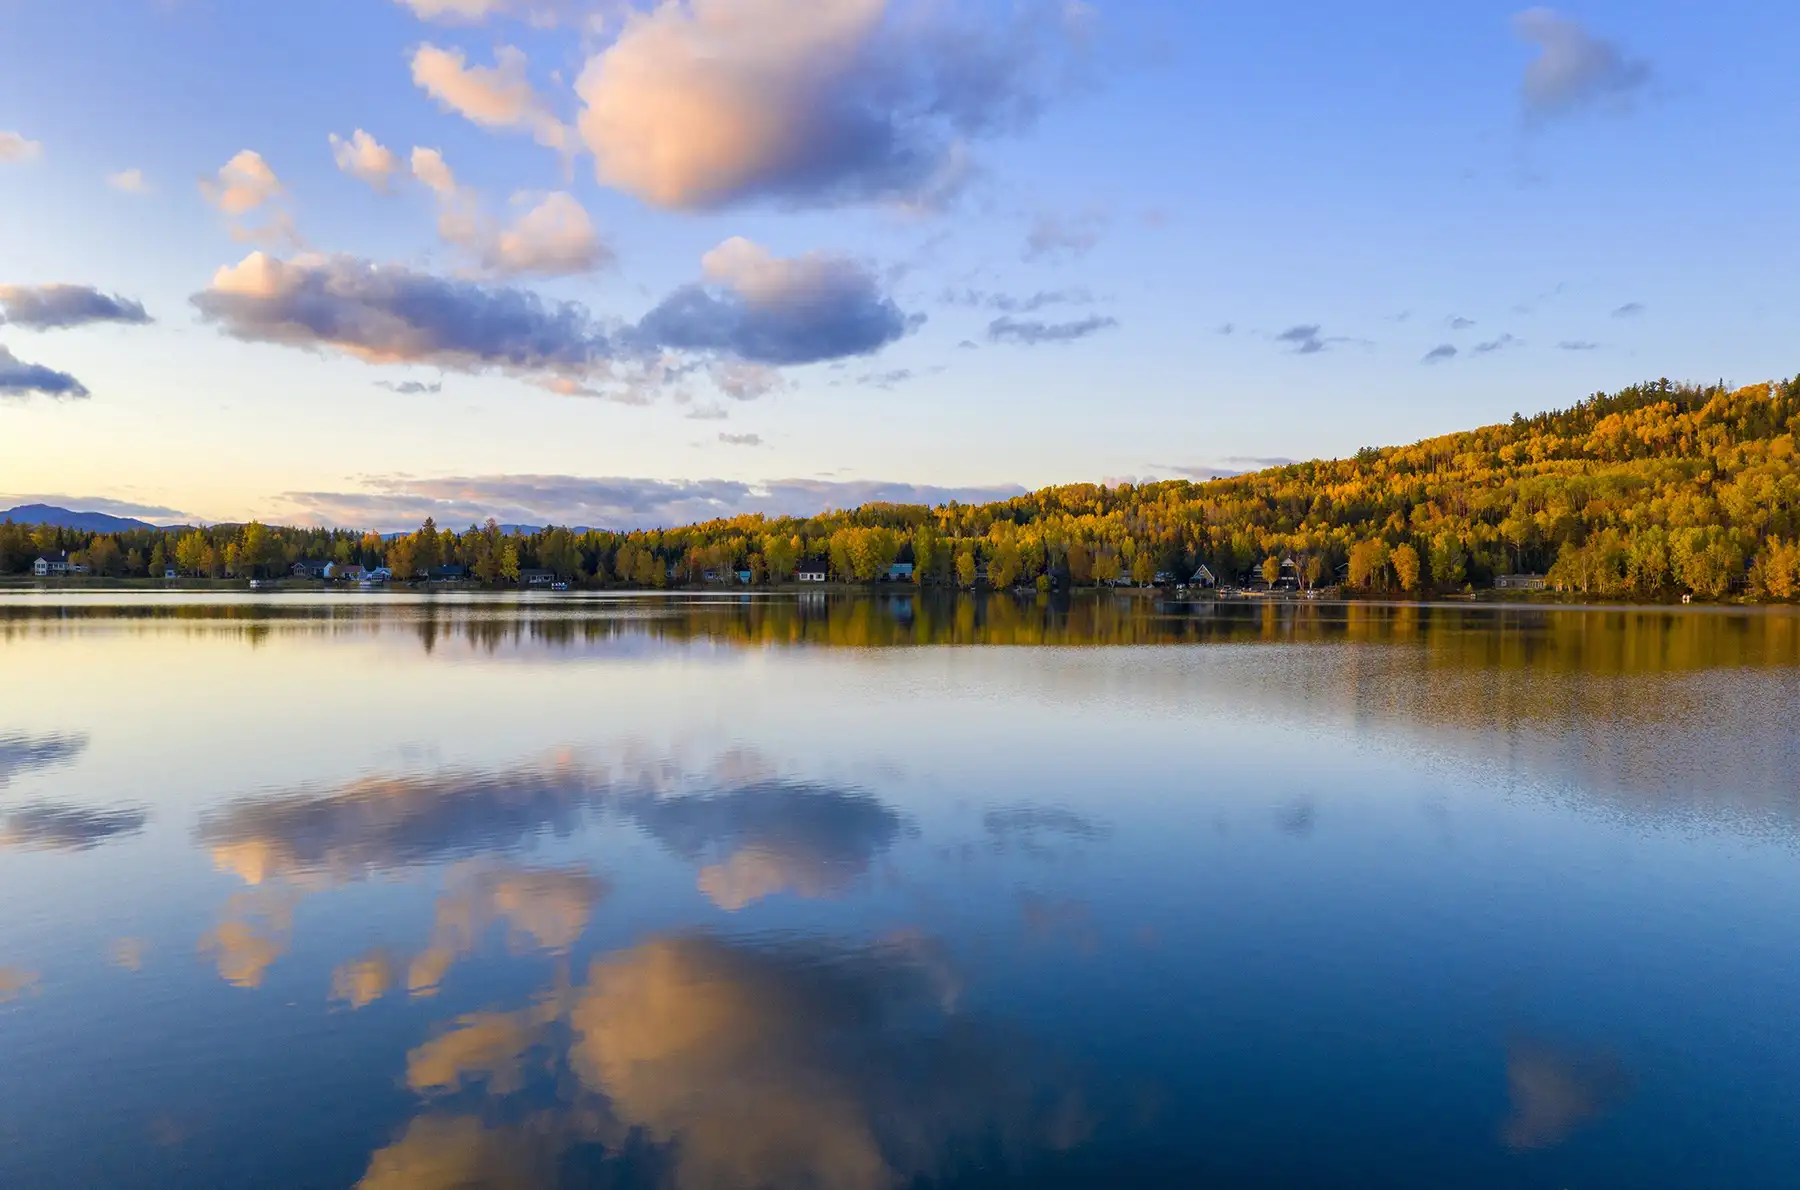
Shoot in landscape and portrait orientation
Some scenes work in either orientation. A wider frame might show details that a taller one would leave out, or the other way round. When both compositions are strong, take both photographs.
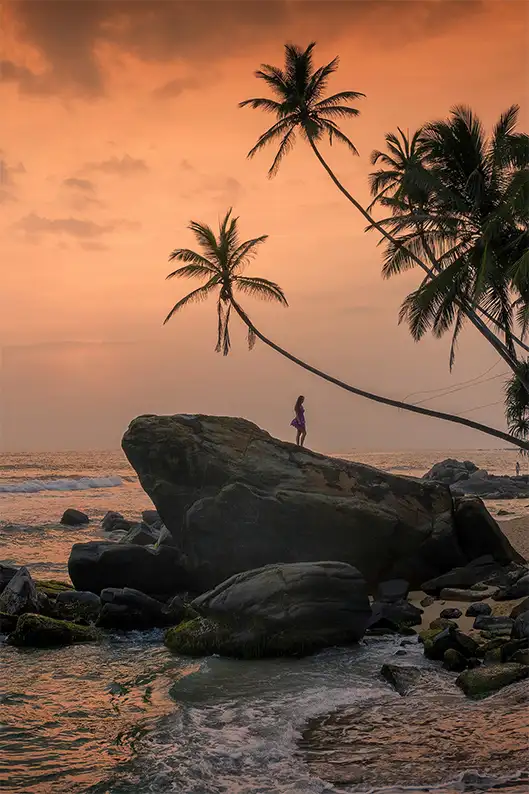
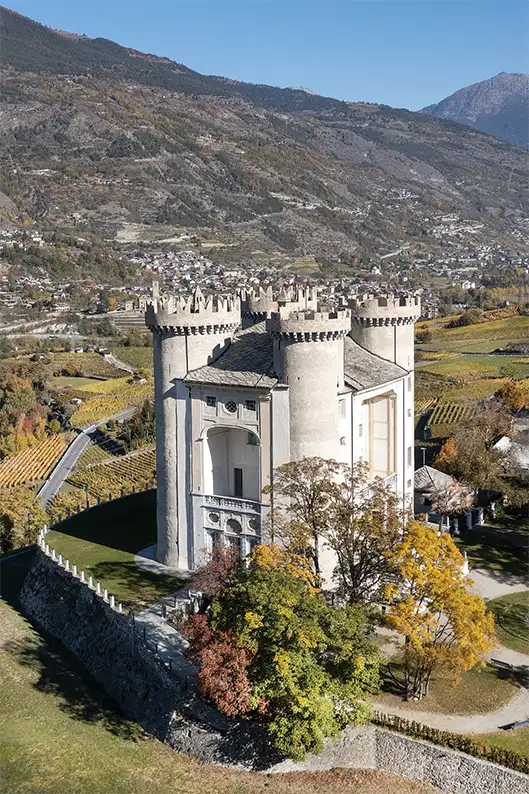
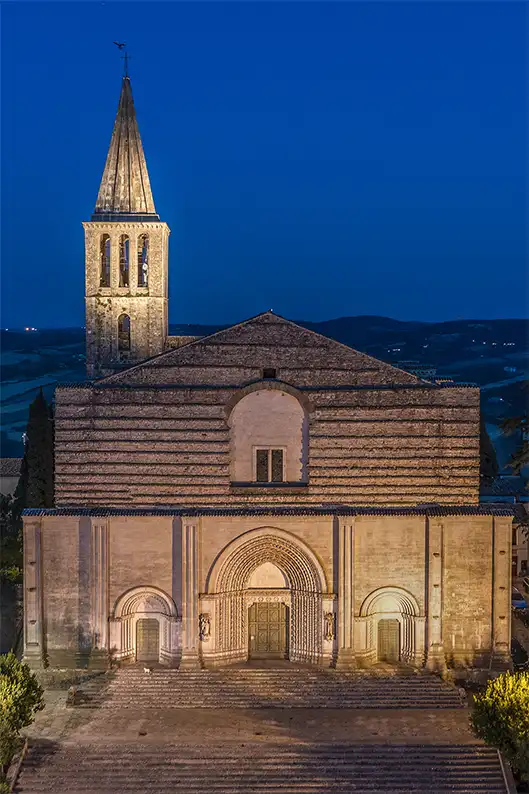
Choose a clear subject
When a scene is full of competing shapes, lines and textures, it can be hard to know where to look. Give the eye one or two clearly defined subjects. Decide what should draw the viewer first, and think about how brightness, scale, colour and contrast can make that happen.
With practice you’ll begin to see the finished composition before you take the photograph. That can save you from heavy cropping later. Even if your camera records in 2:3 or 3:4, try visualising a 4:5 crop, a 1:1 square, or a panorama in 16:9, 1:2 or even 1:3.
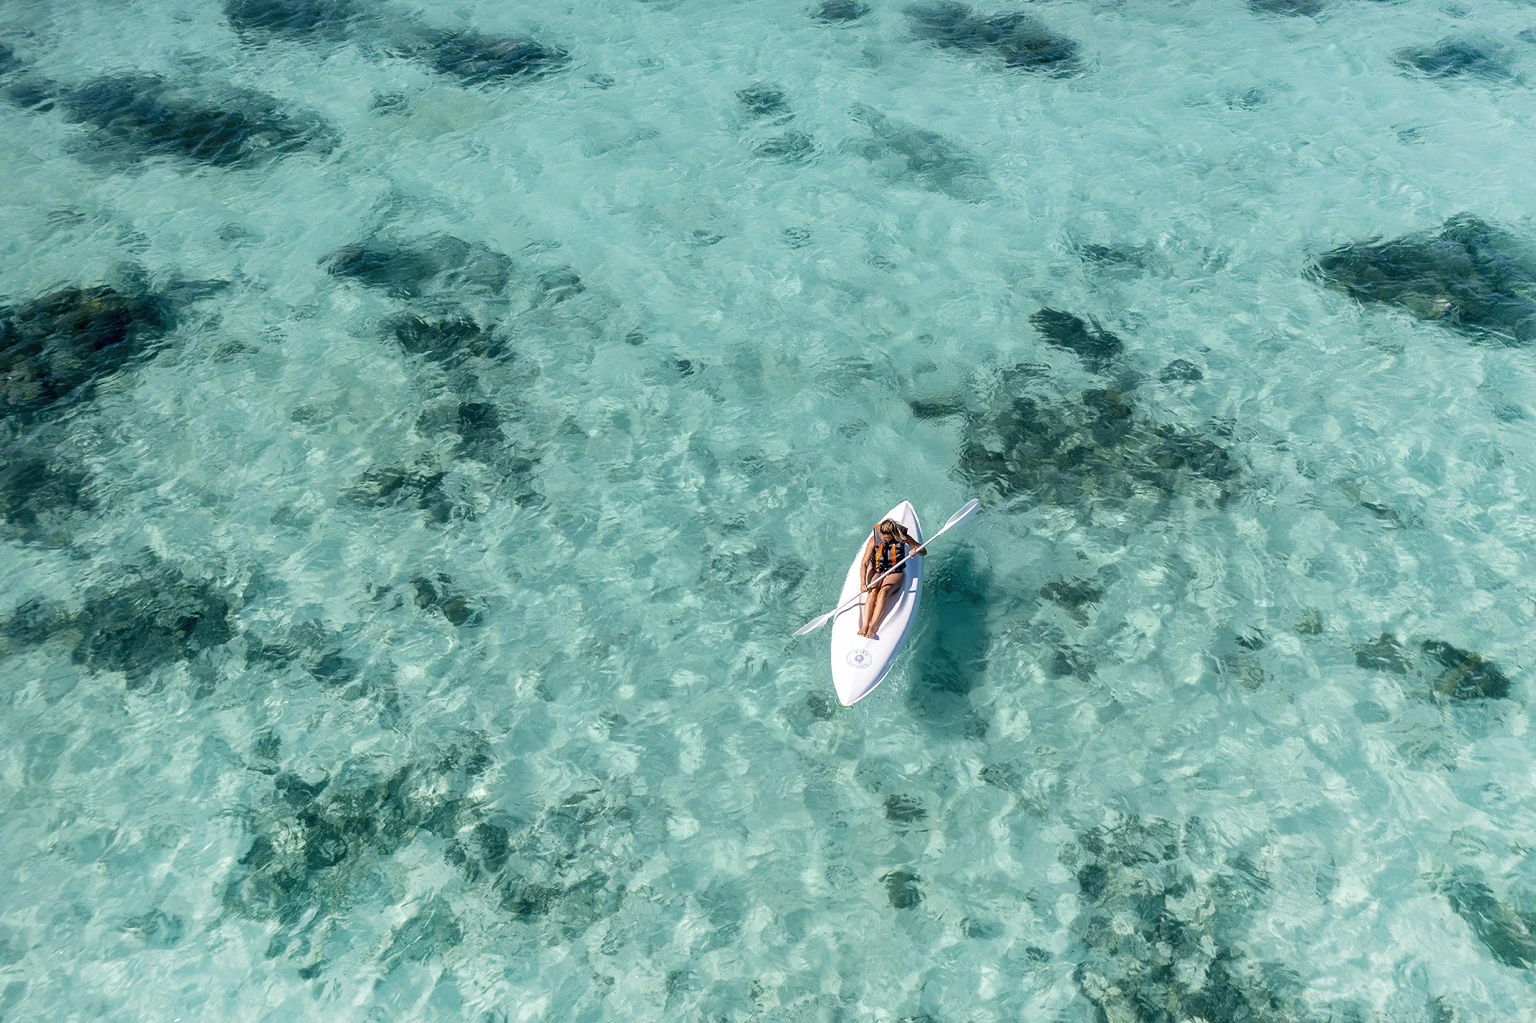
Texture
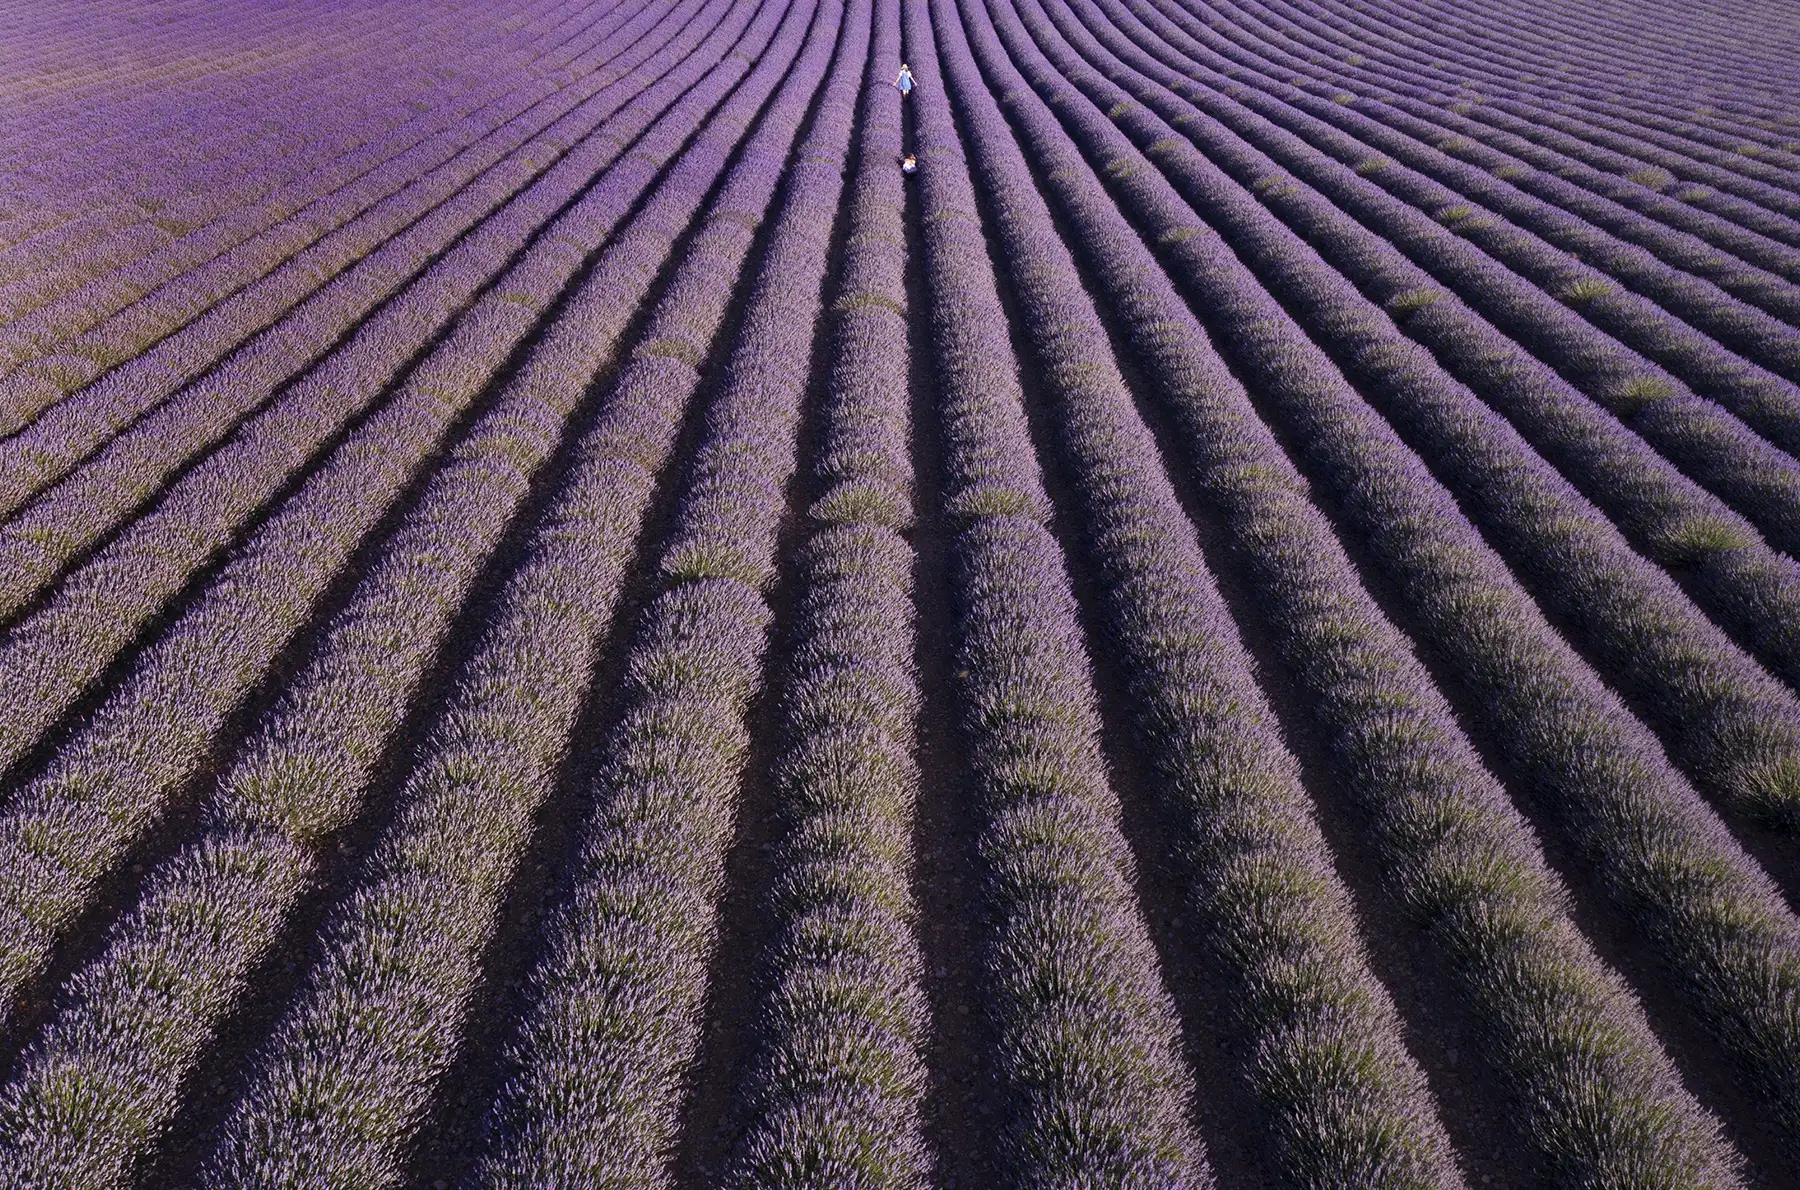
Vivid colours, curves and diagonals can all draw the eye. Texture is another way to do it. Photographing lavender fields from a drone offers a distinctive view of the landscape for which Provence is known. Texture is the visual quality of a surface, revealed by variations in its form.
For an even rendering of texture, try photographing under an overcast sky. The clouds act like a large softbox, giving you soft light without direct sun on the subject.
Pattern
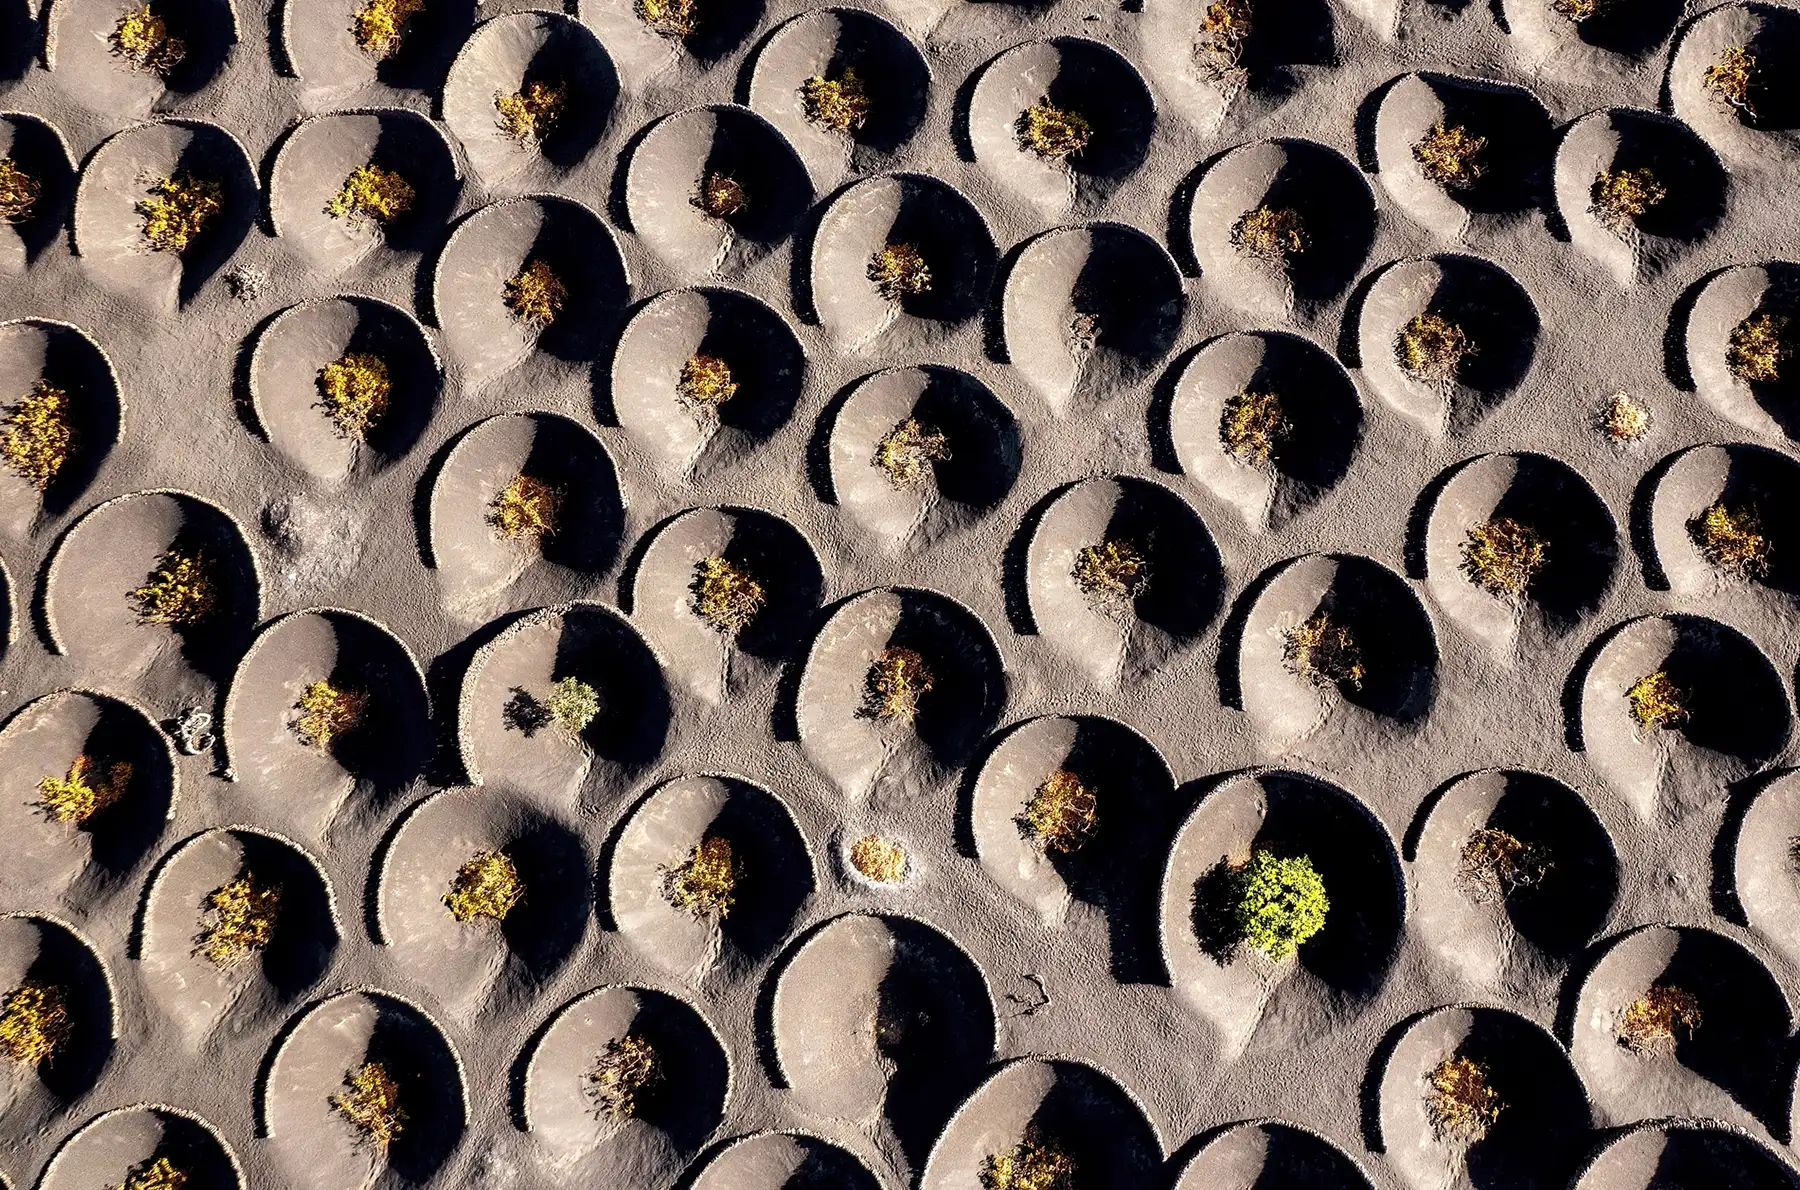
A pattern is a recurring element in the image. Look for repeated shapes, colours or textures and use them to organise the frame. Repetition can hold the viewer’s attention. A sequence of contrasting colours can work, and so can repeated shades of the same colour.
Breaking the rules
A well-known landscape photographer once said there are no rules for good photographers. Leading lines and the rule of thirds are useful starting points. Set them aside when the picture works better without them.
Vary your flight altitude
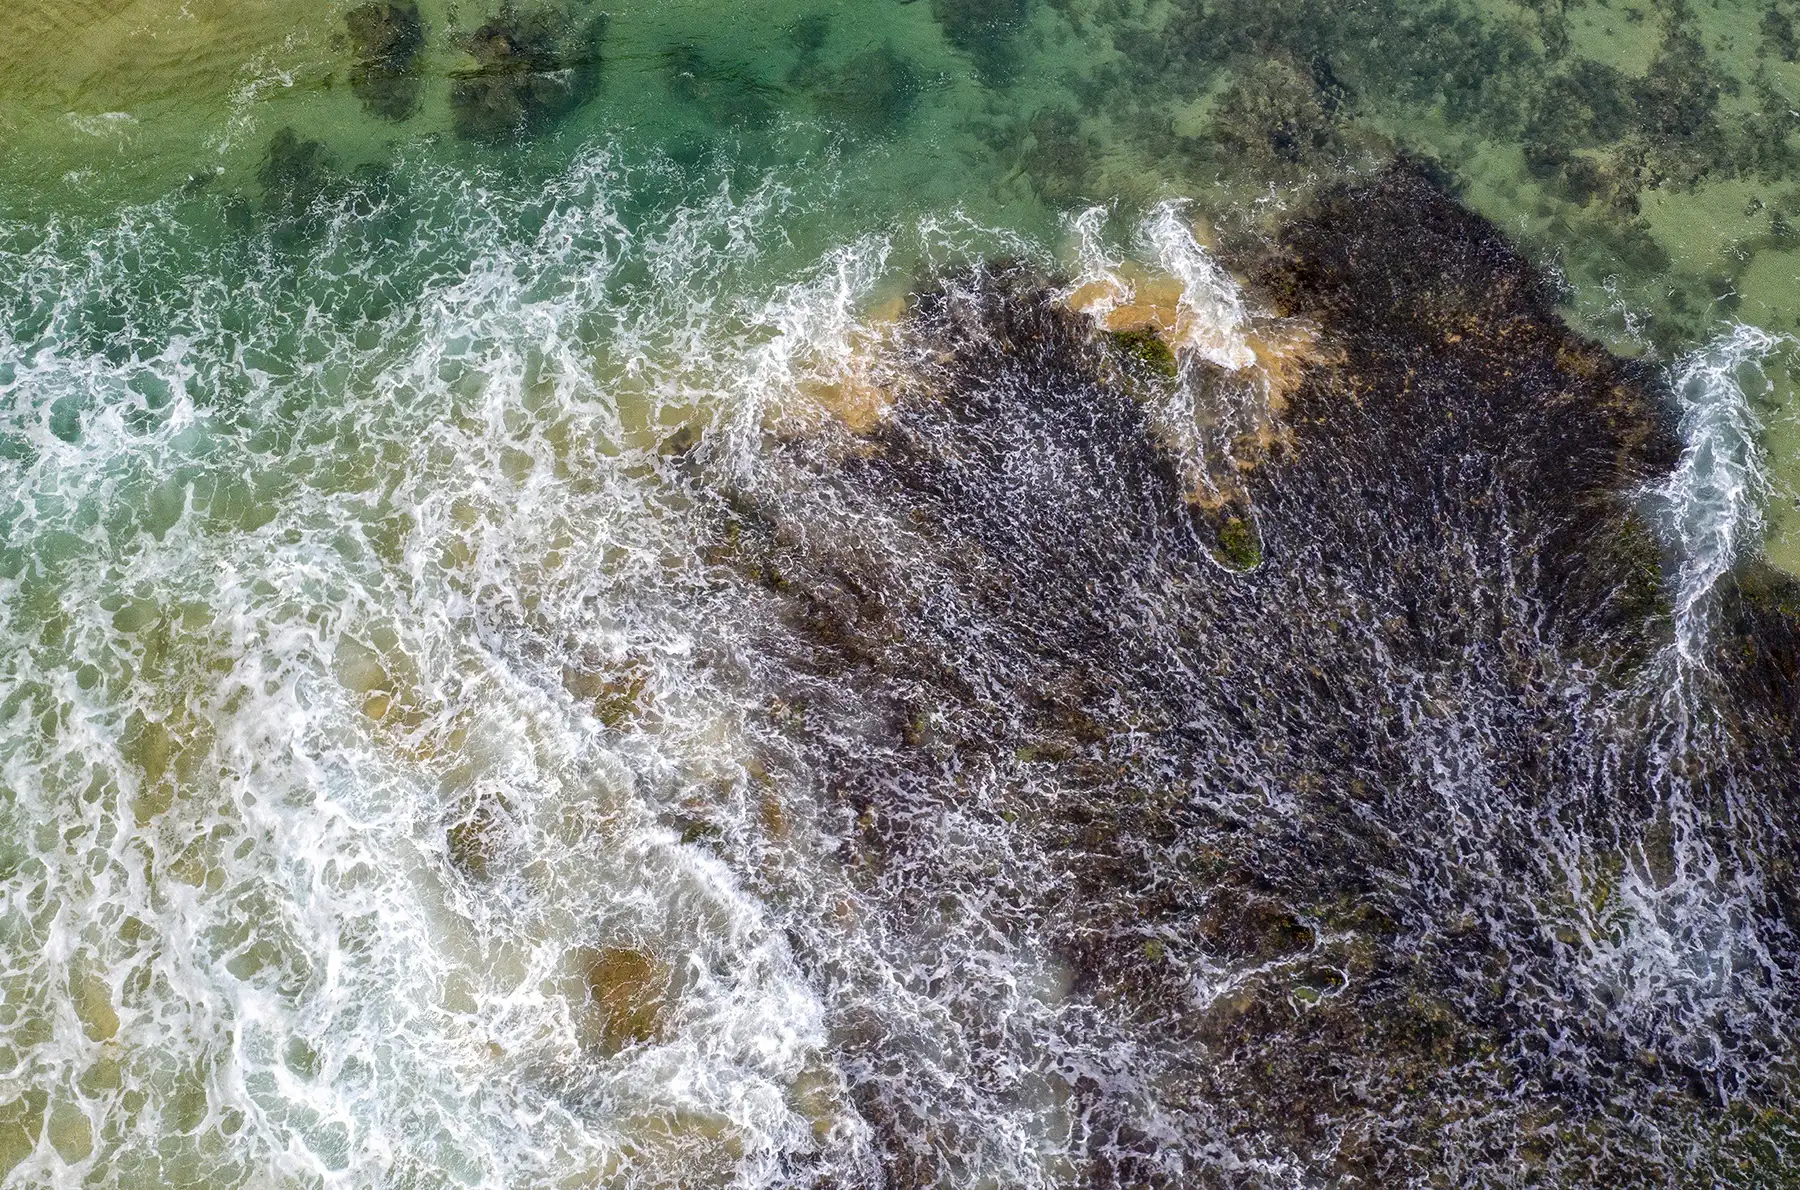
The same area can look very different as you change altitude. A lower viewpoint helps isolate a subject. A higher one gives you a broader view of the setting. Even a small change in height can make a noticeable difference to the composition.