
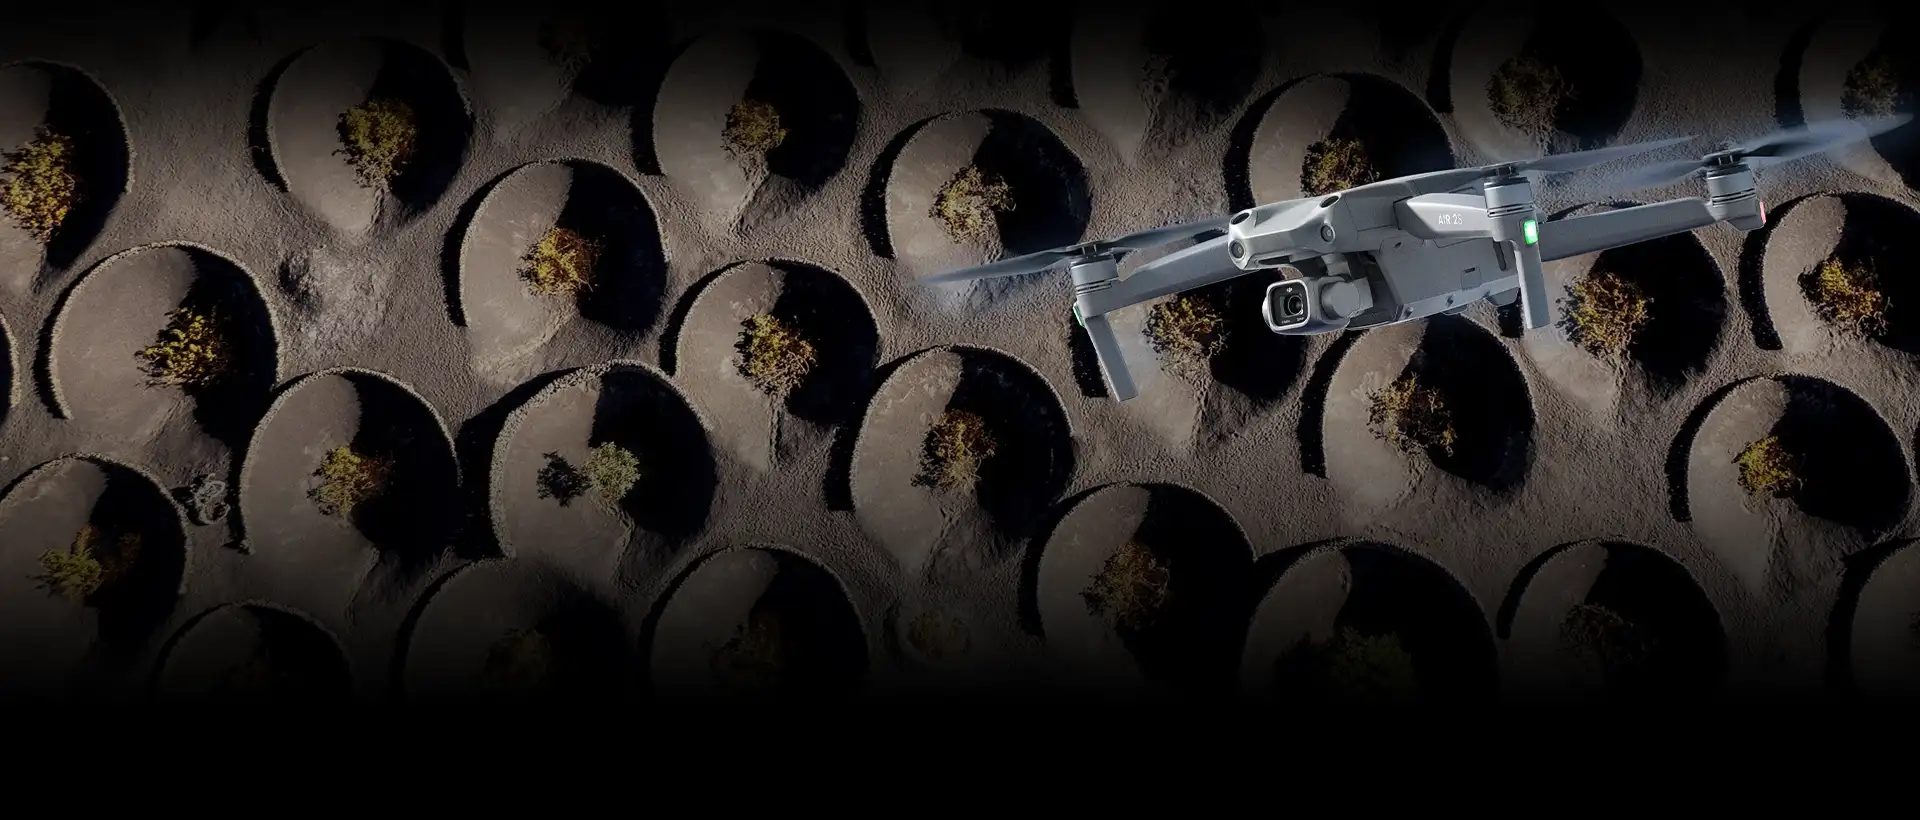
Drone photography and video technology has advanced rapidly, changing the way we see and document the world. We can now photograph landscapes, cities and places that are hard to reach while standing on the ground. To capture quality images and fly safely, pilots need to understand both the technology and the rules that apply.
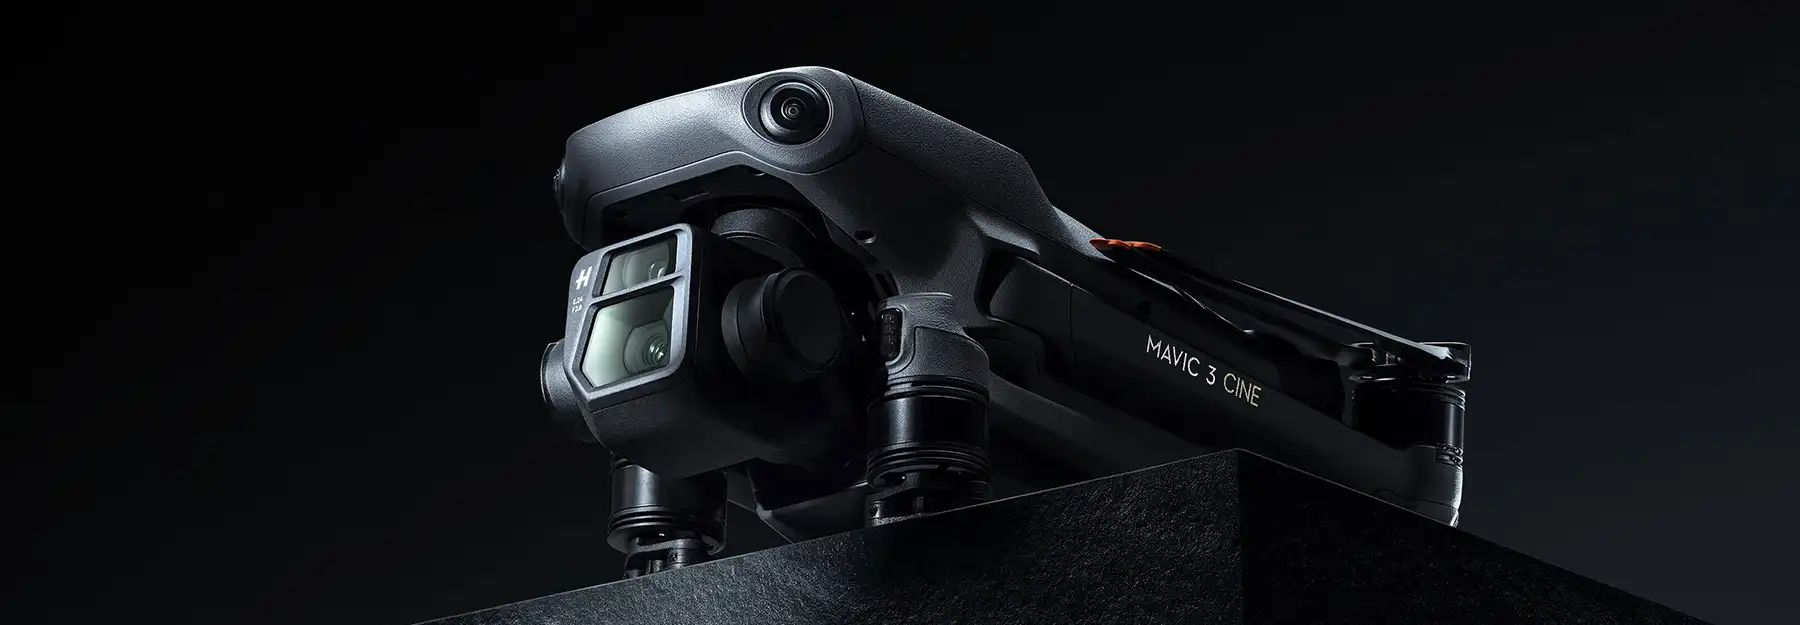
What to do after buying a drone
Before planning your first flight, check the drone’s class, the subcategory you intend to fly in and the requirements that apply.
- Operator registration. In the Open category, registration also applies below 250 g if the drone has a camera or another sensor capable of capturing personal data, except for qualifying toys. If you need to register in Italy, use d-flight and display the operator ID on the drone. Enter it in the Remote ID system where required.
- Certificates and flight zones. For C0 in A1, read the manual. For C1 in A1, you need A1/A3 proof of competency. See the guide to the rules for the other classes and check d-flight for restrictions along your full route.
- Third-party liability insurance. In Italy, you need third-party liability insurance appropriate to the operation. See the ENAC requirements for the Open category.
Activate your drone
Choosing the app
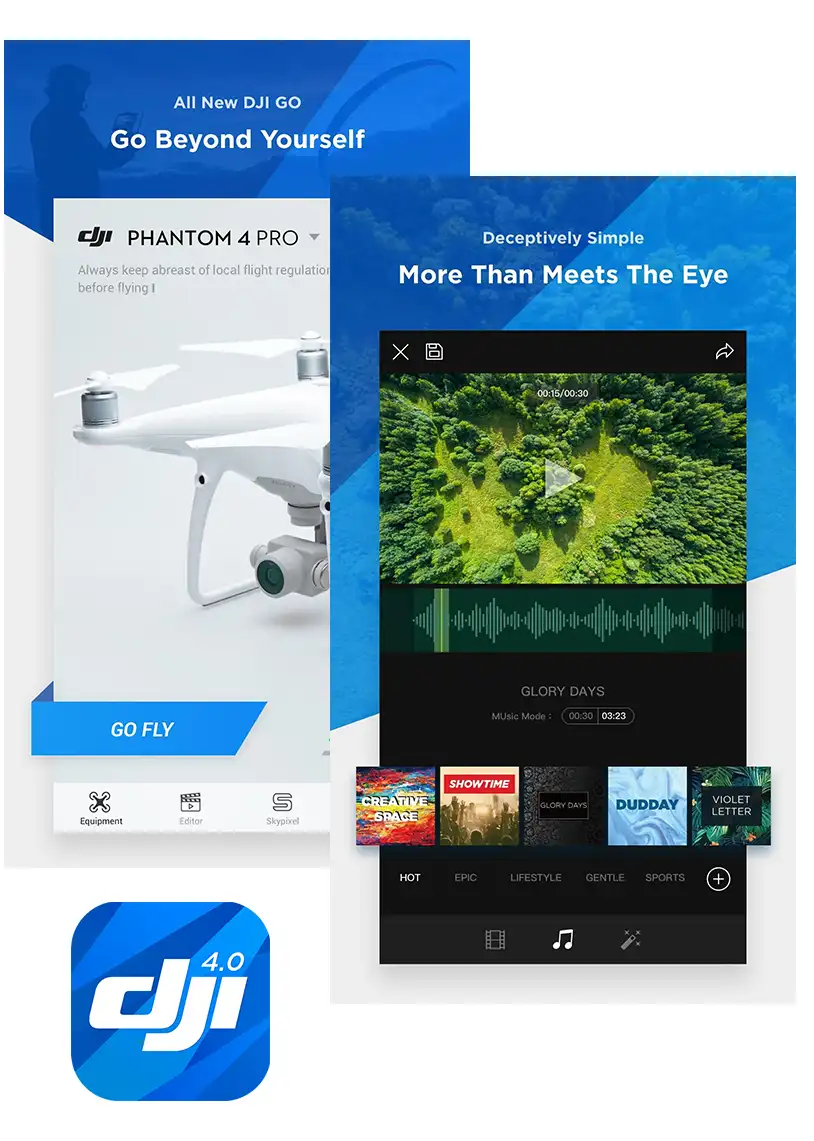
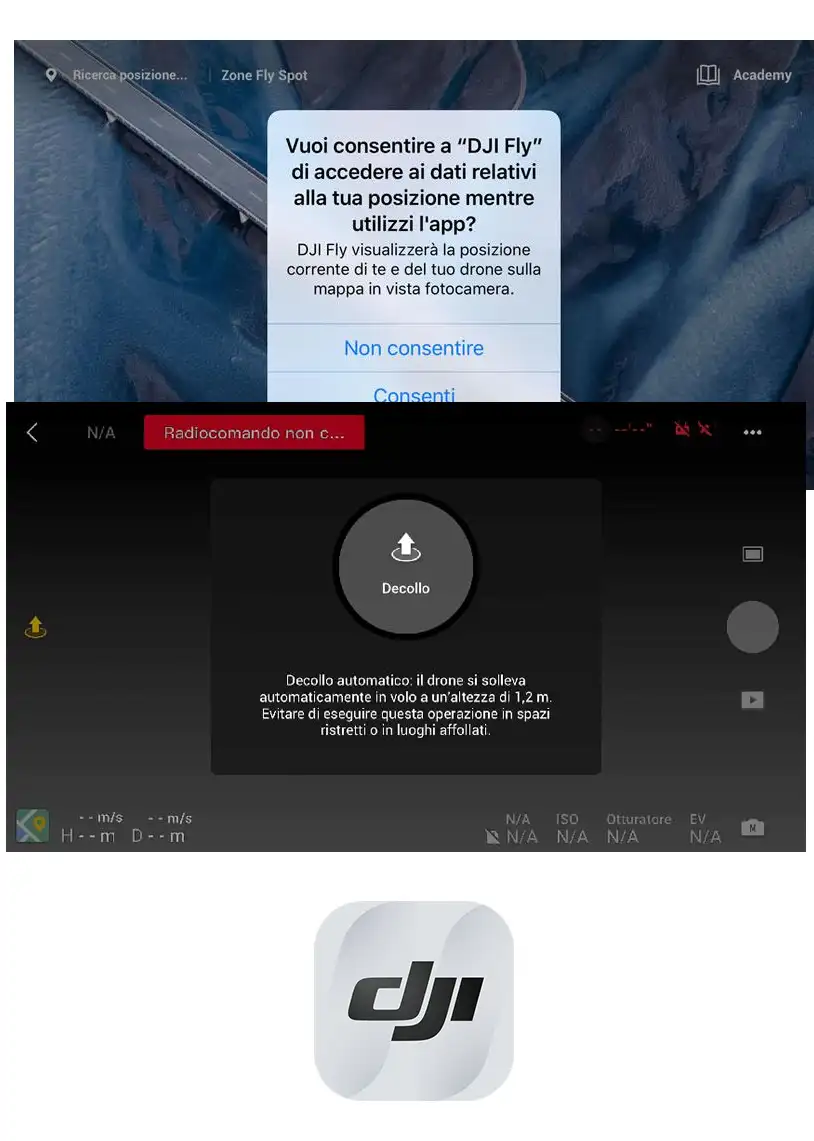
Use the app specified in your model’s manual. DJI Fly is used by models including the DJI Mini 5 Pro, Mini 4 Pro and Mavic 4 Pro. Some older models, such as the Mavic 2 Pro and Phantom 4, use DJI GO 4. The screenshots below illustrate the apps and may differ from the current versions.
Setting up your account
Sign in to your DJI account and follow the app instructions to activate the drone. Then check for firmware updates. If you’re considering DJI Care Refresh, check the terms, availability and activation instructions for your model.
Fit the propellers and calibrate the compass
Fitting the propellers
On DJI quadcopters, the propellers spin in opposite directions in pairs. Match the markings on the propellers and motors as instructed by the manufacturer. Before taking off, check that each propeller is secure and free from cracks or distortion.
Compass calibration
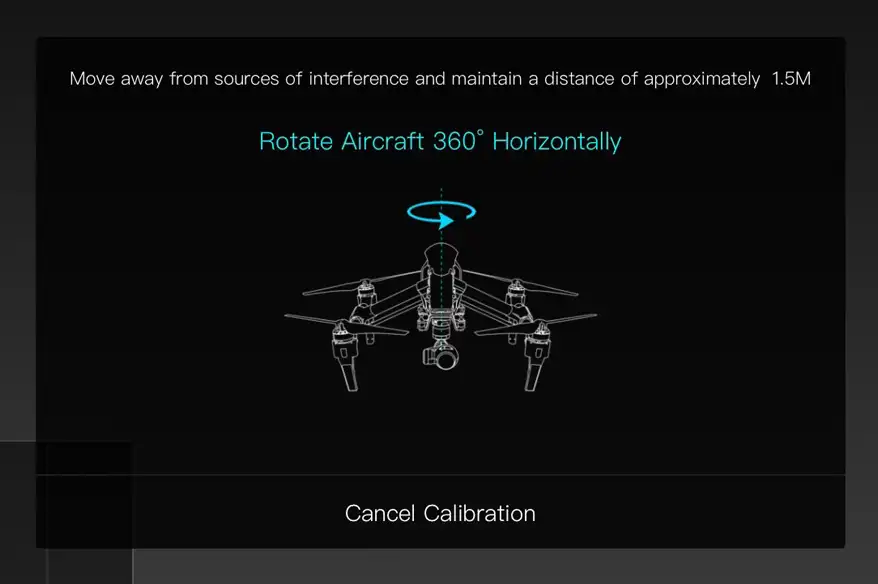
Calibrate the compass when your model’s app or manual calls for it. Follow the on-screen instructions and choose a location away from large metal structures and sources of interference. Before flying away, check the home point and Return to Home settings against obstacles and the limits of the flight zone.

Camera settings
- Exposure. Use the histogram and any available highlight warnings. Manual mode helps keep exposure consistent. With a fixed aperture, adjust shutter speed and ISO. With an adjustable aperture, you can also choose the f-stop.
- Shutter speed and ISO. Choose a shutter speed that suits the movement of the drone and the subject. In good light, start at 1/500 s and zoom in to check sharpness. Keep ISO low where you can. Raise it if you need to maintain a fast shutter speed.
- Composition. Turn on the grid to check alignment and apply the rule of thirds. See Photographic composition.
- AEB. Capture a bracketed series of exposures for possible HDR merging. This works best when the drone and the subject are steady.
- Format and colour. Choose DNG (RAW) if it’s available and you want more flexibility in post-processing. With RAW, you can also adjust white balance after taking the photograph.
Video settings and the 180° shutter rule
- Resolution and colour profile. Choose a resolution to suit the project. Use 4K when you need more detail. For colour grading, use a 10-bit log profile such as D-Log M on compatible models. A standard profile is convenient for a quick turnaround.
- The 180° shutter rule. For natural-looking motion, start with a shutter speed of about half the frame interval. At 25 fps try 1/50 s. At 50 fps try 1/100 s. A faster shutter speed makes movement look crisper.
- ND filters. In bright light, these filters reduce the light entering the lens so you can keep your chosen shutter speed.
Conclusion
Setting up a drone means understanding the operating rules, checking the aircraft and choosing your camera settings. These checks are part of preparing for every shoot.